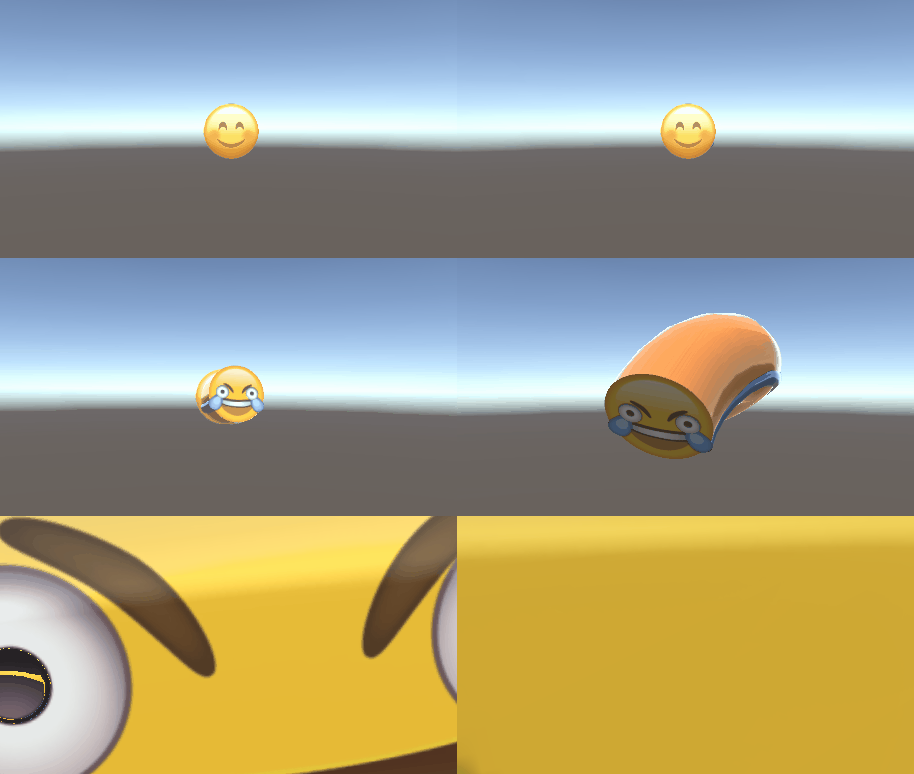
How to deform any mesh along a spline by leveraging textures
Textures are just data grids and they don’t need to describe colours nor correspond to existing geometry in any way. With a little creativity they can mean anything.
Many 3D objects and effects could be described as a simple shape repeating across a spline. Most modelling packages offer this kind of functionality, yet it’s not quite as intuitive to do something like this in a game engine. Most implementations fall back to the brute-force approach of generating a new mesh via code. I’m here to offer an interesting alternative.
Inspiration
There is an uptick of new effects and optimizations that stems from a simple idea: textures don’t have to describe colours along polygons. Textures are just data grids and they don’t need to describe colours nor correspond to existing geometry in any way. With a little creativity they can mean anything.
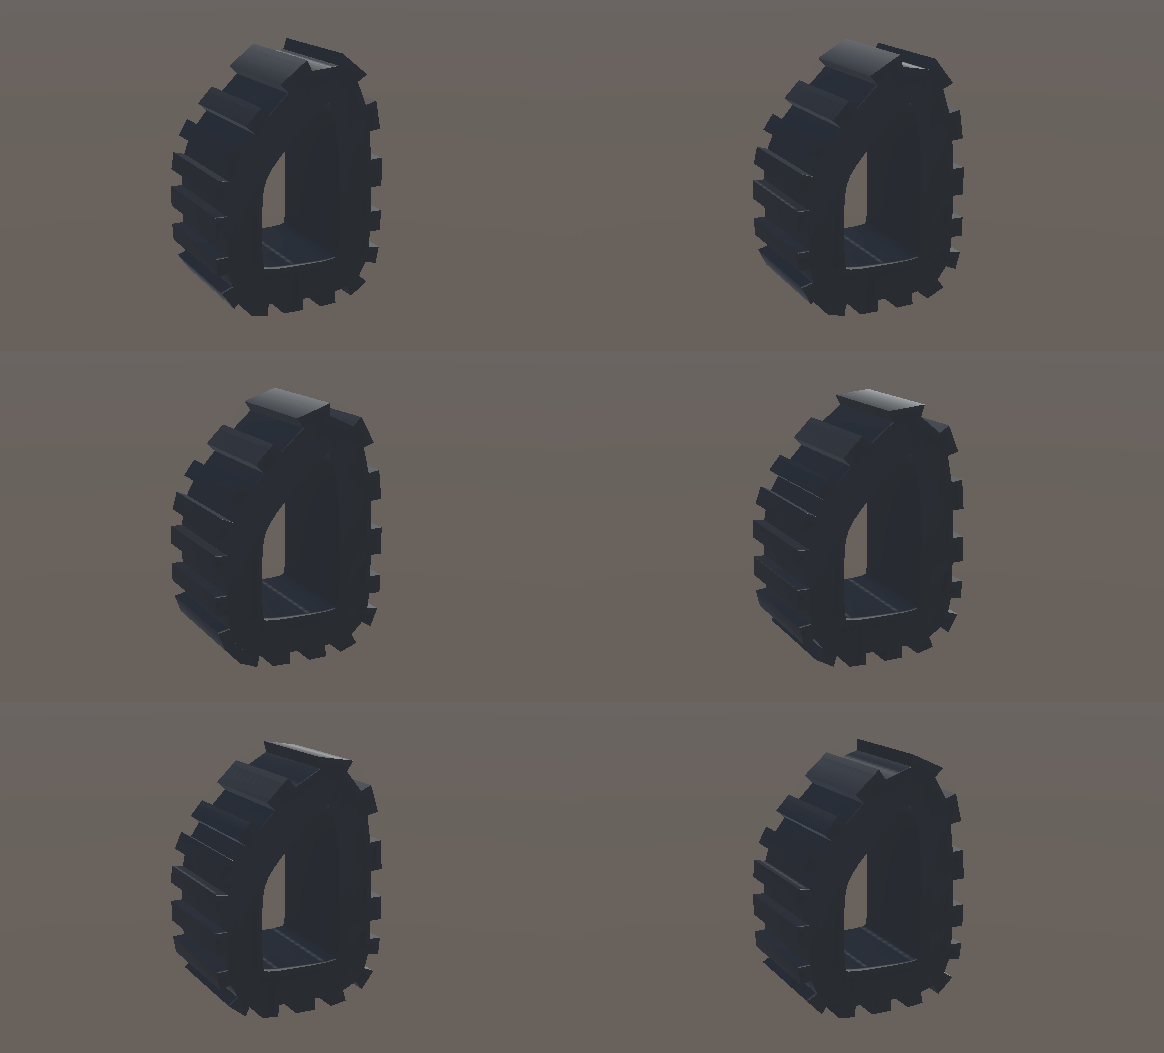
Inspired by that idea I set out to try a new workflow: render deformation along a spline to a texture, then apply that deformation to any mesh using a shader. Let’s walk through how it works and what you can do with it.
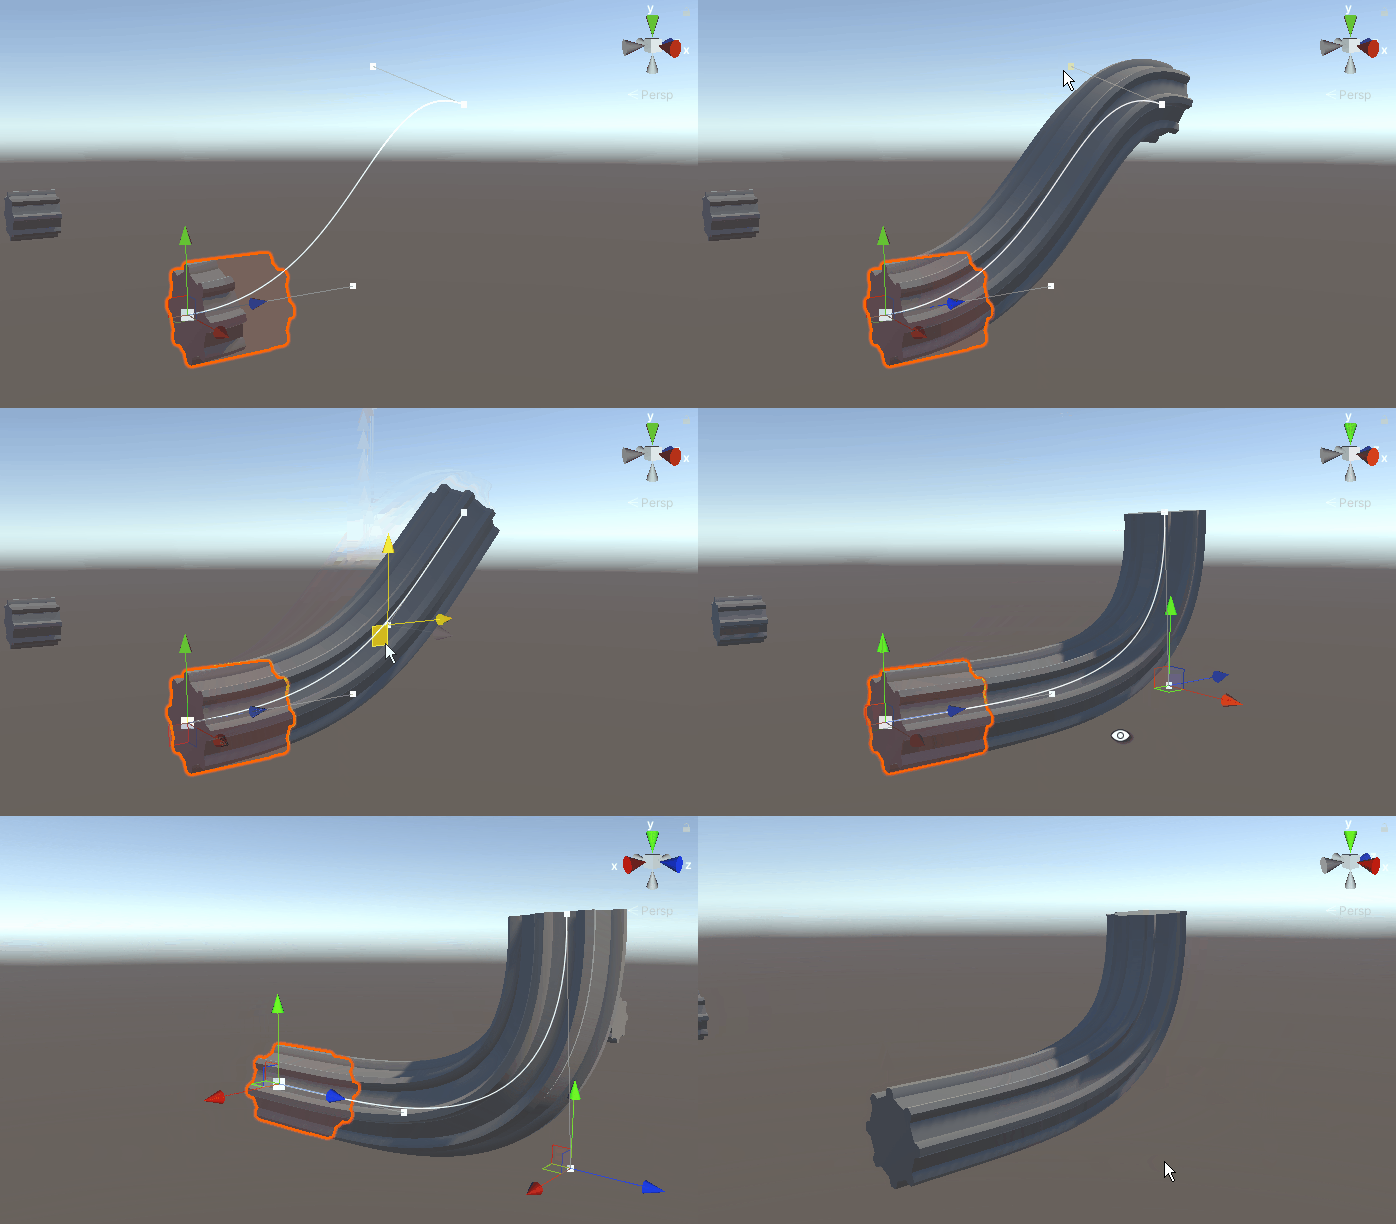
Deformation Matrices
Transformation matrices are used in 3D rendering to translate co-ordinates from one space to another such as local space to world space. Without going into too much detail on the maths (there’s plenty of good articles for that), it’s worth knowing how transformation matrices are stored. In shader functions, most matrices are stored as a float4x4, which is essentially a two-dimensional array of floats, like so:
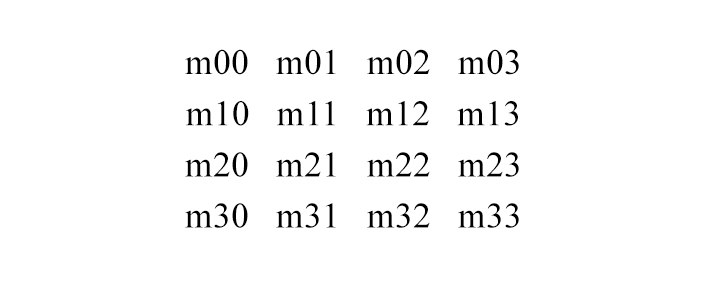
The idea started when I wondered if there was an easy way to store a matrix in a texture. There is, actually. It can be written like this:
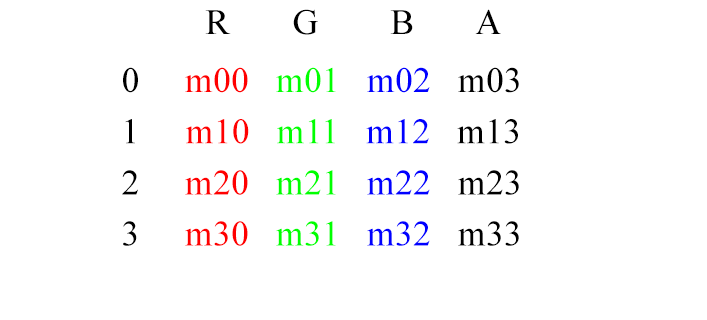
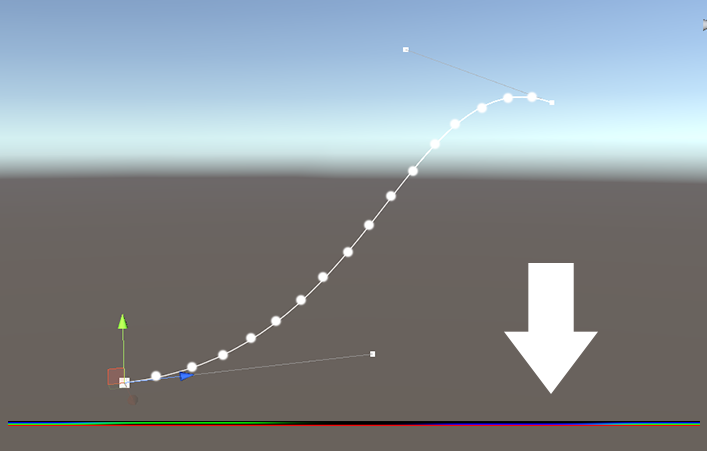
Given that each pixel in a texture can hold RGBA values, each pixel can hold one row of a matrix. A matrix usually has four rows, so a whole matrix can be stored in as little as four pixels. So if we just make a script that samples the position, rotation and scale along a spline then we can construct a matrix and store that in a texture using the layout described above, like this:
The Shader
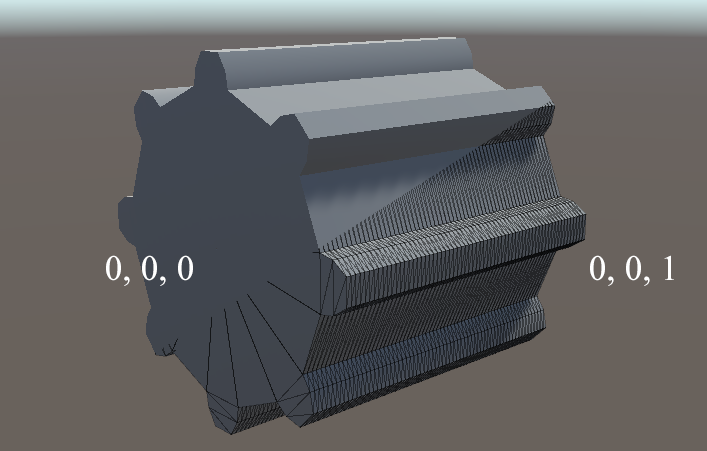
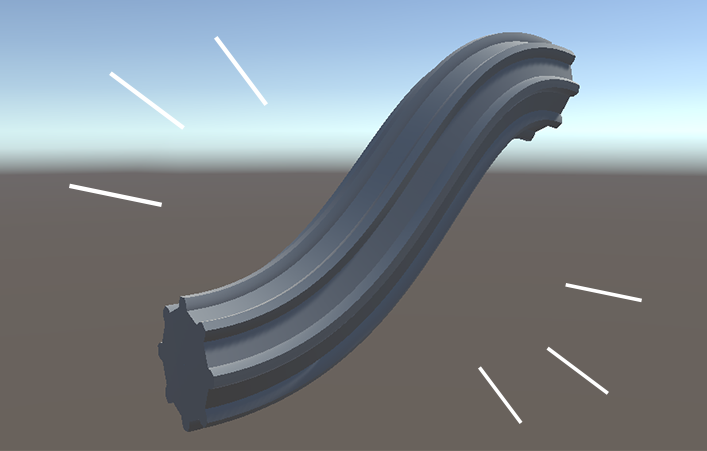
Given a base mesh that is aligned with the Z axis and has plenty vertices we can very easily transform one ‘slice’ of the mesh along the spline. The process is as follows:
- The normalized z-coordinate of the vertex determines what ‘slice’ it belongs to, or how far along the spline it should end up. Let’s call this P.
- Sample four vertical points in the deformation texture. The X co-ordinate is P and the Y co-ordinate of each sample is evenly spread.
- Combine all four samples into a float4x4 matrix.
- Move the vertex back to Z co-ordinate 0, the starting point, and multiply it by the matrix.
Artifacts
There’s a number of artifacts you’ll see if you’re building something like this from scratch and they’re worth knowing about.
- Using the alpha channel to store non-alpha data surprisingly does not work well out-of-the-box. Most image formats will change the RGB values when the A value is 0, corrupting the data. I’ve found the EXR file format to be the least intrusive when it comes to this. Any other format, especially PSD, will interfere with the data.
- Interpolation may work against you. Especially for the rows in the texture, which are distinct values with no relation to one another, interpolation will generate incorrect values. A quick solution to interpolation problems is just to increase the resolution. Despite theoretically only needing four vertical pixels I’ve opted to use eight for this particular reason.
- It’s important to think about clamping. For looping splines the X-axis can be repeated, but the Y-axis remains distinct and should be clamped to avoid interpolation artifacts.
Strengths and Weaknesses
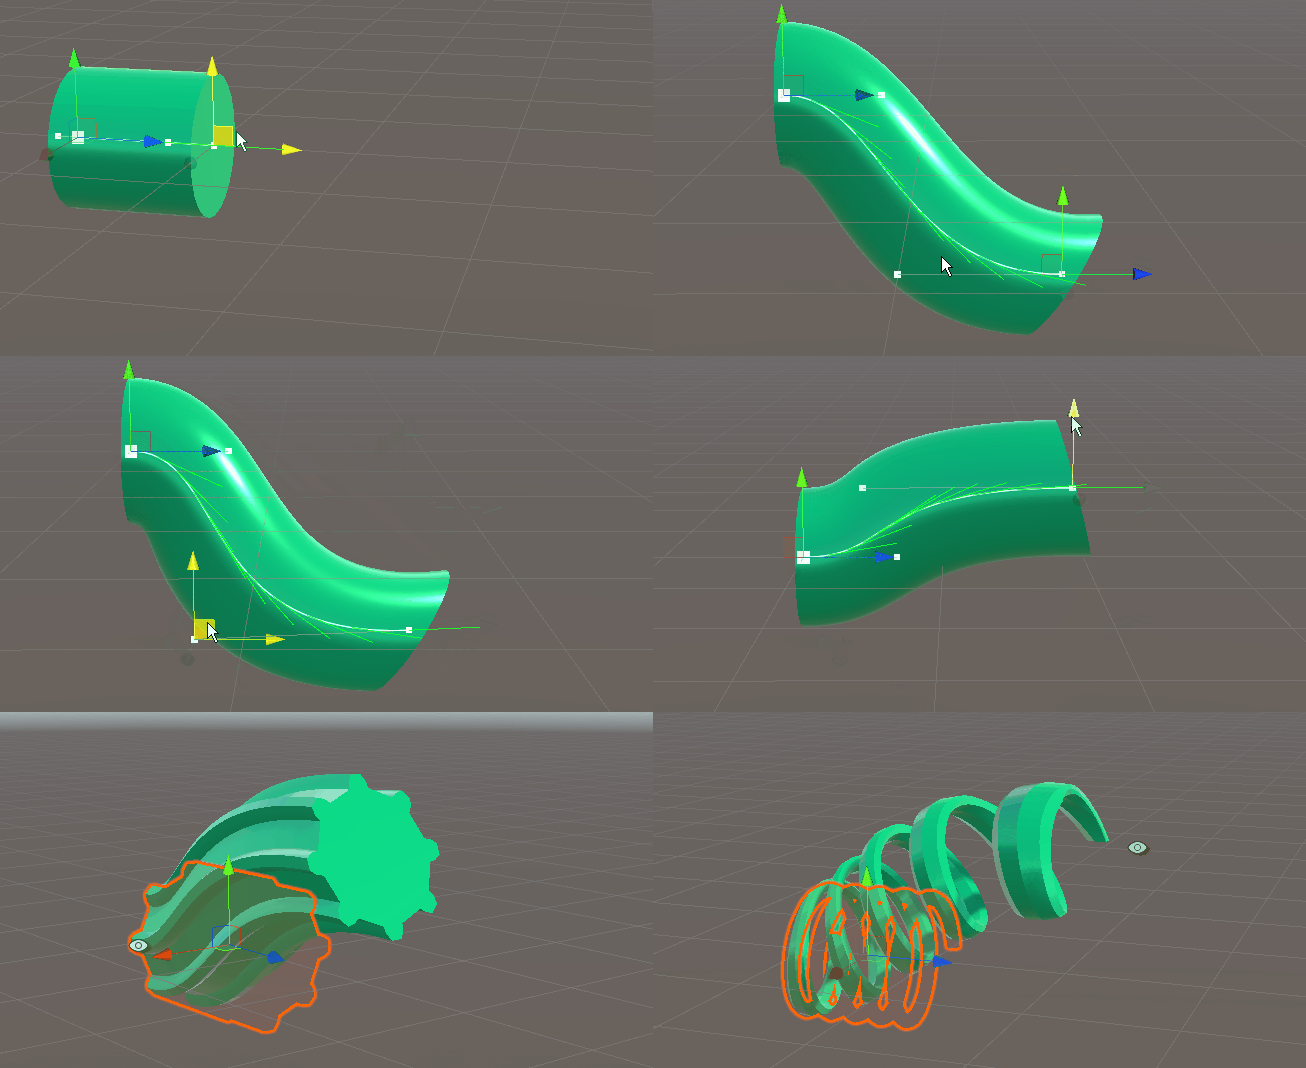
There’s certain things this technique does well and certain things it doesn’t. What it does well:
- Simple generic workflow, any deformation is easily baked and applied.
- Updated in real-time for immediate feedback while working.
- Can be animated to achieve creative new effects.
- Pre-rendered texture assets make this approach extremely performant.
However, there’s also certain weaknesses to this approach:
- As it stands, rendering new textures is done via a script and is not very efficient. Certainly good enough for editor usage, but not optimal for splines that change at runtime.
- No new geometry is created, so if you want to deform a mesh along an arbitrarily long spline you might have to instantiate more meshes.
- The bounds of the mesh are not automatically updated and have to be updated via a script to prevent incorrect culling.
Closing Thoughts
It’s an interesting technique and hopefully serves to help people let go of their preconceptions about textures and make new optimizations, and maybe even create surprising new real-time effects that were not possible before.
The repository for this article can be found here. Good luck, and have fun.
